
Just got all the parts. Was a little surprised when the order was split, and the store didn't send the tracking number for the large box. Amazingly it arrived at my door while i was unboxing the first small box.
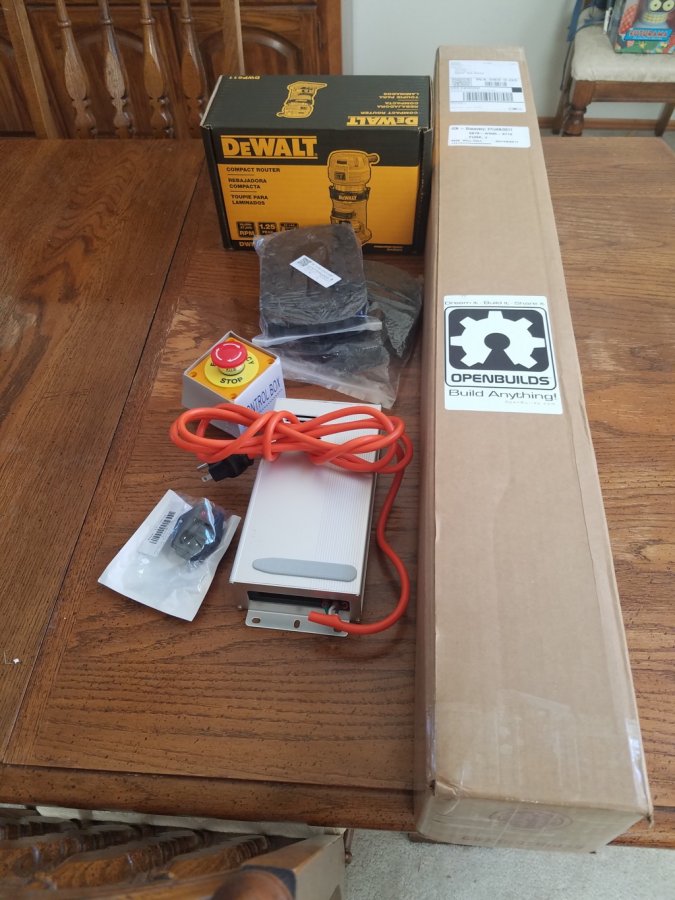
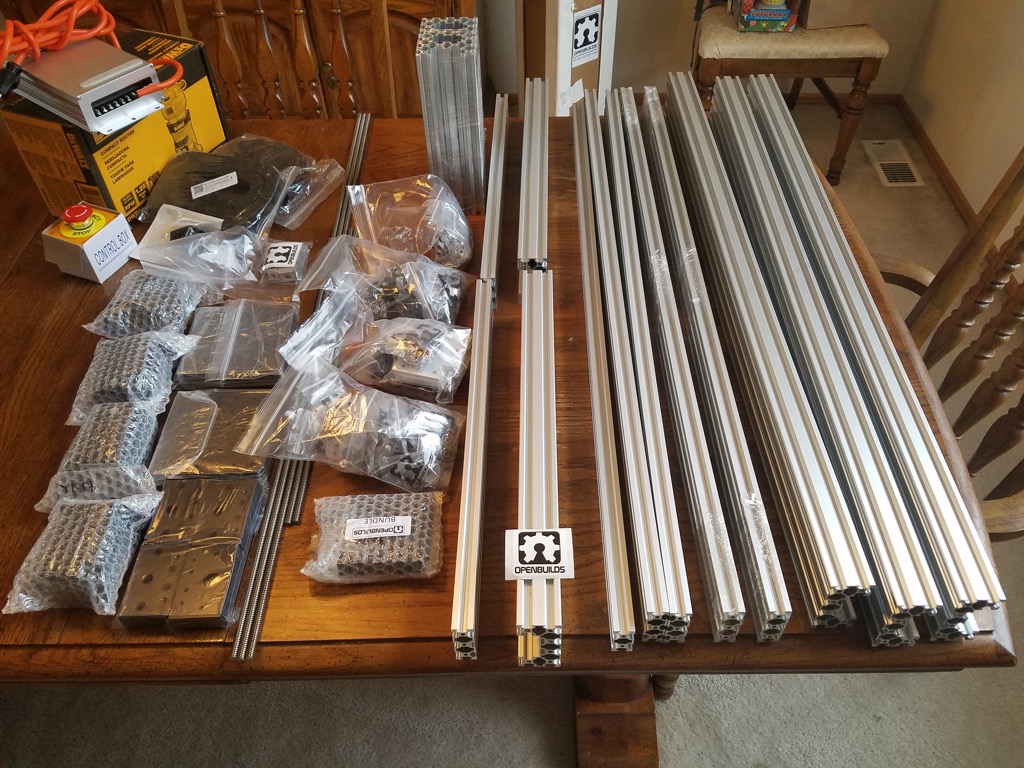
Wow! Look at all those parts. (Took the better part of an hour to verify inventory)
Very neatly packed and well protected. There was no damage to any of the hardware.
Double L-Bracket (Ended up not using them - yet)

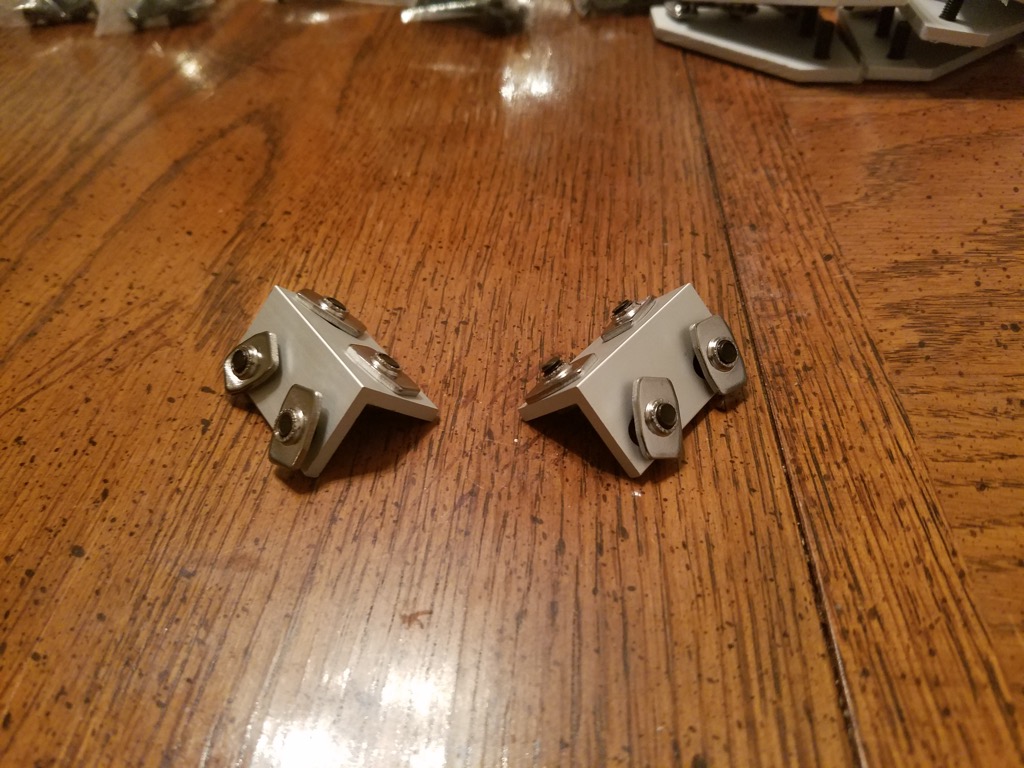
90 Deg. Brackets, only used 8 so far...
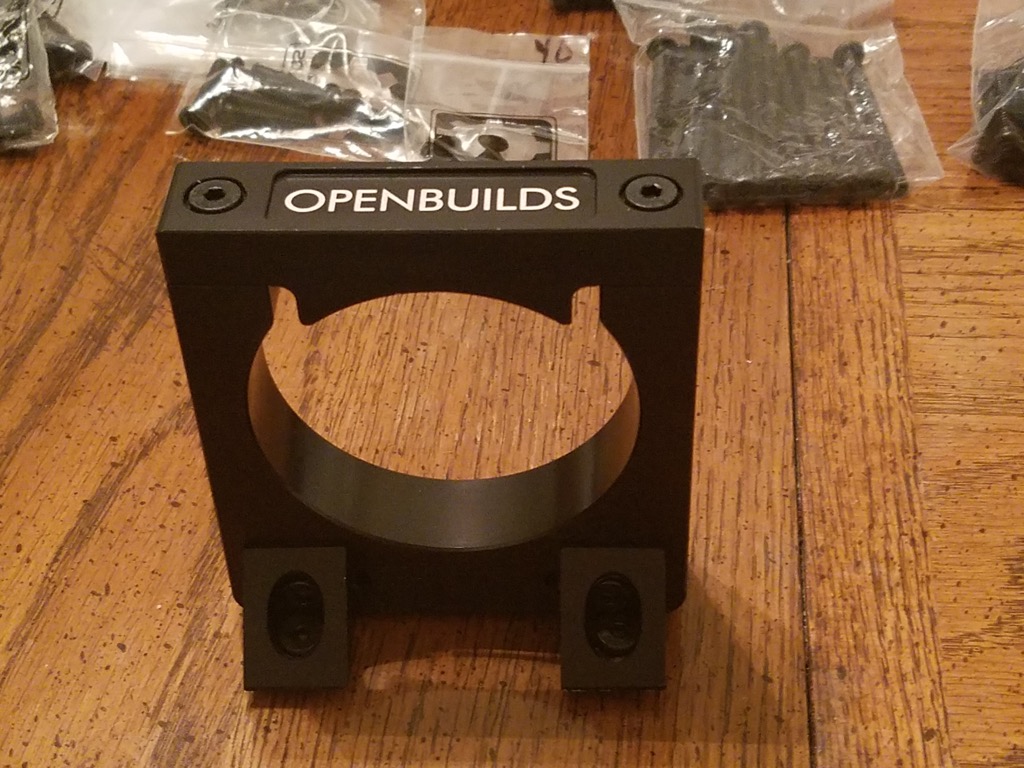
Spindle Bracket
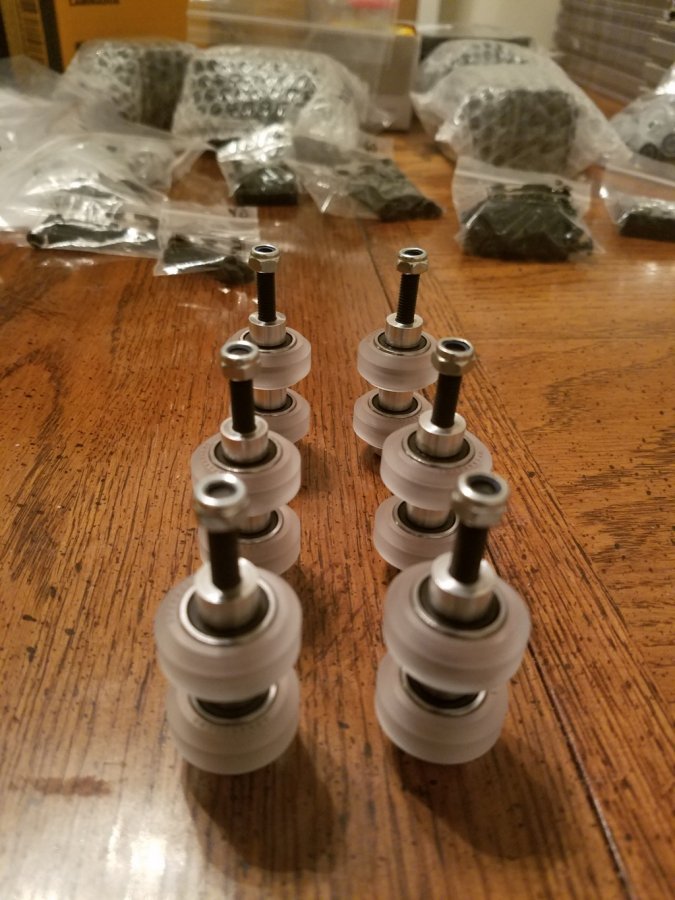
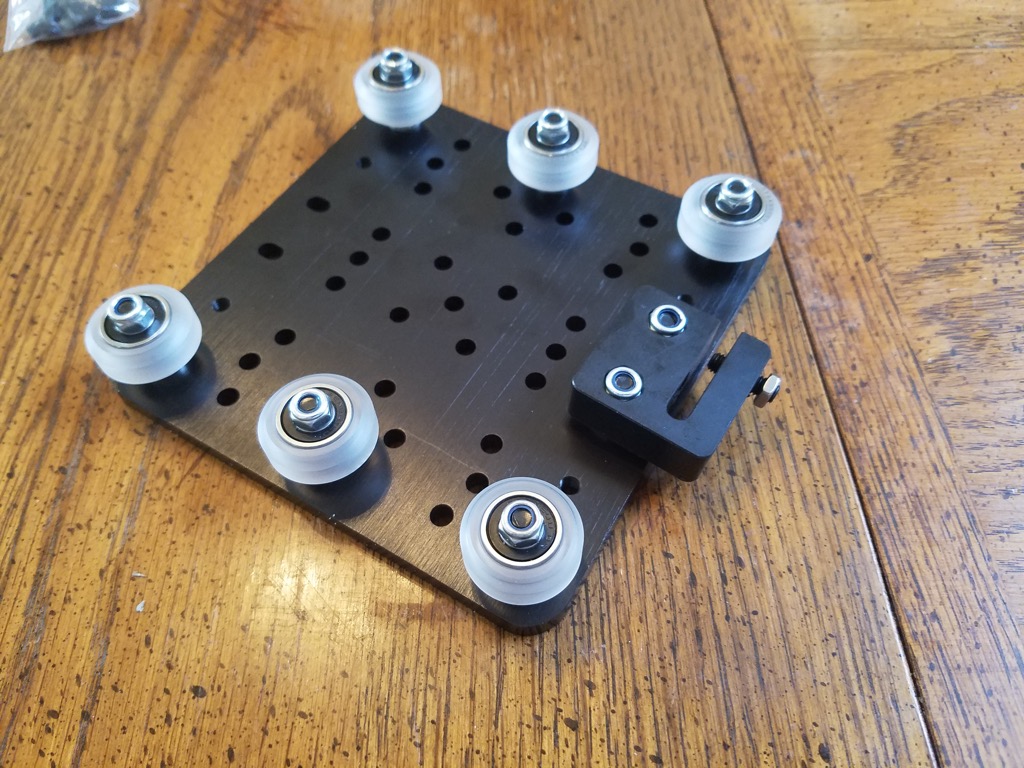
Non-Eccentric wheel assemblies
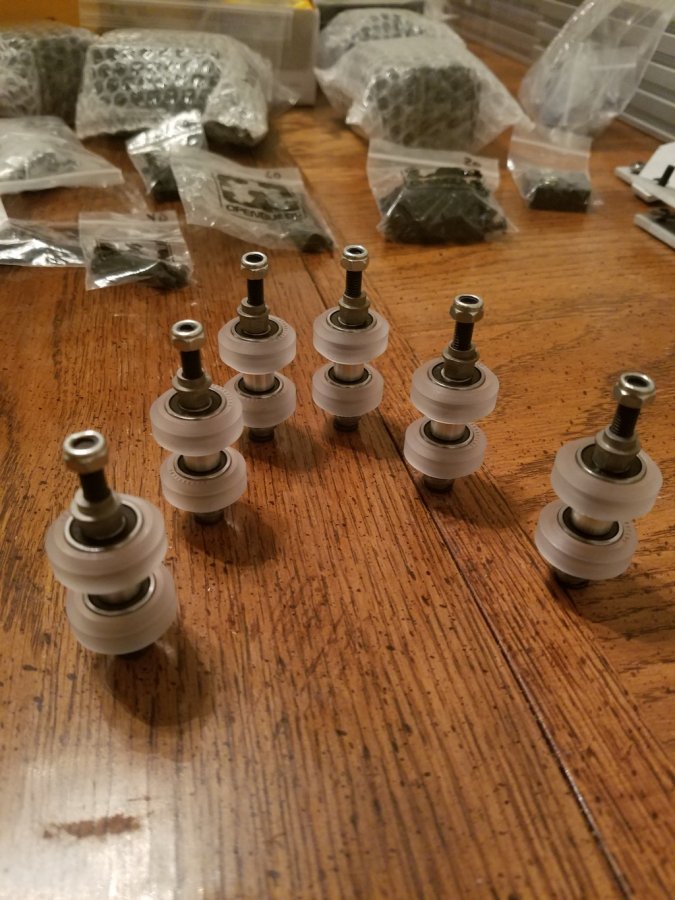
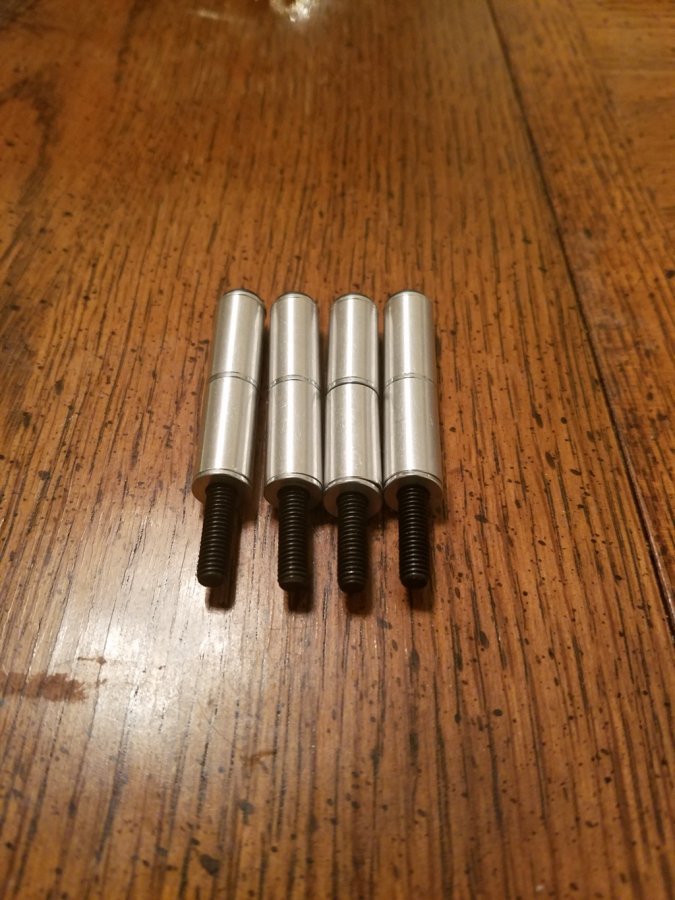
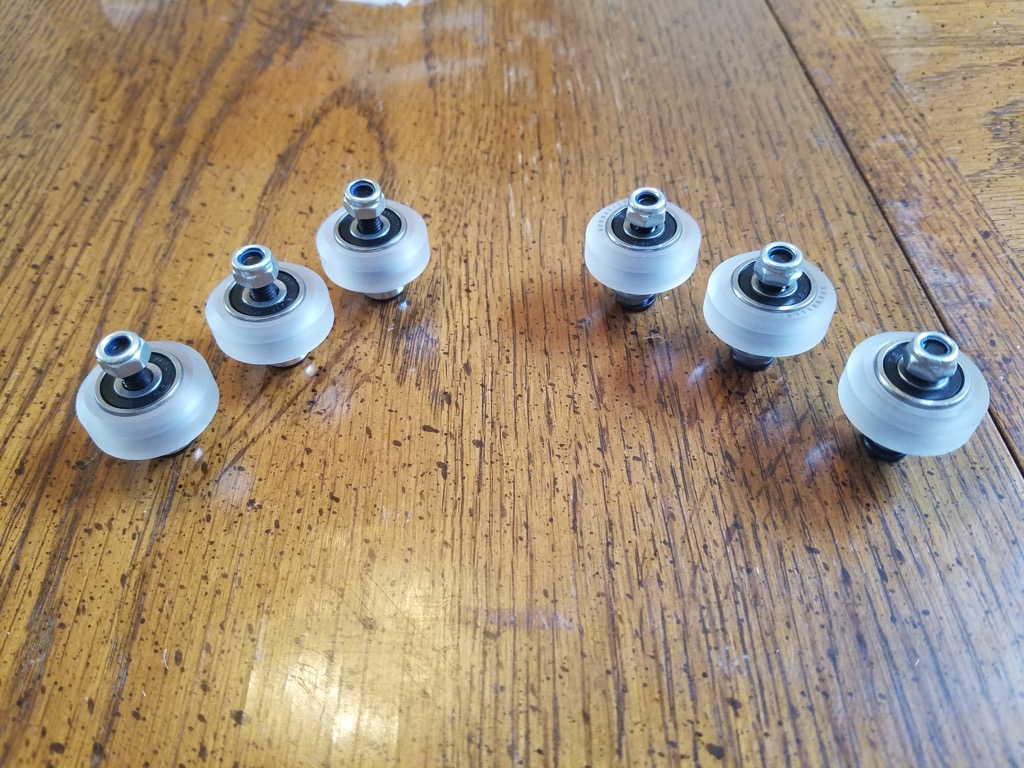
Eccentric wheel assemblies (Wow that's a lot of wheels)
Spacer assemblies for the X-Carriage
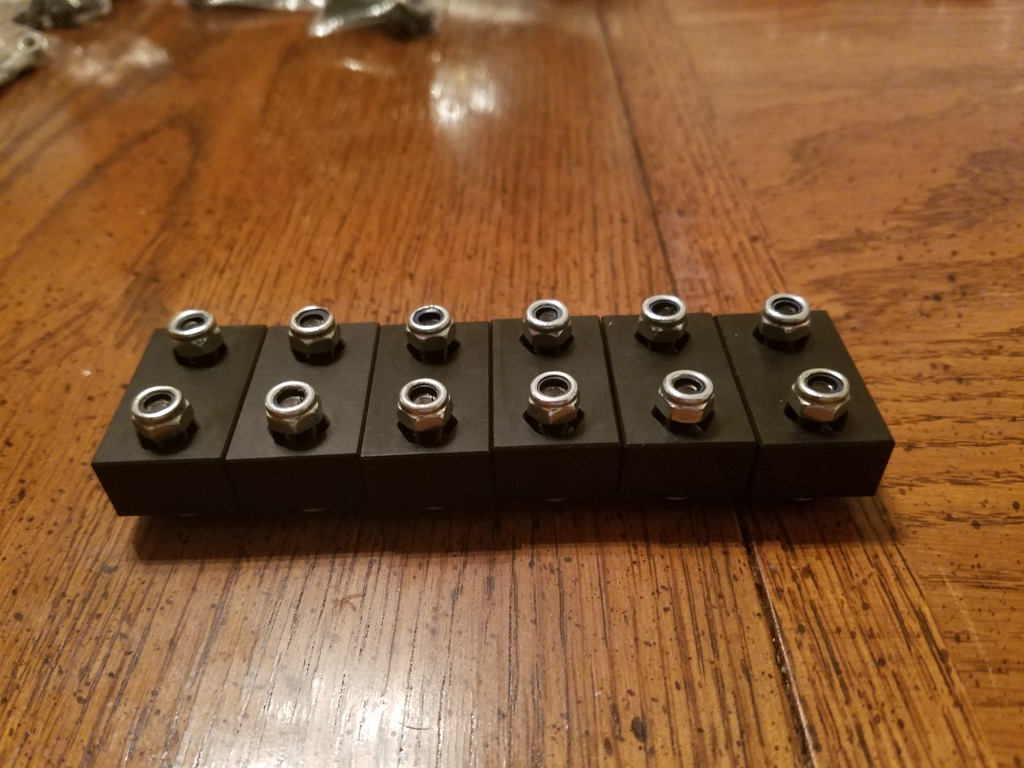
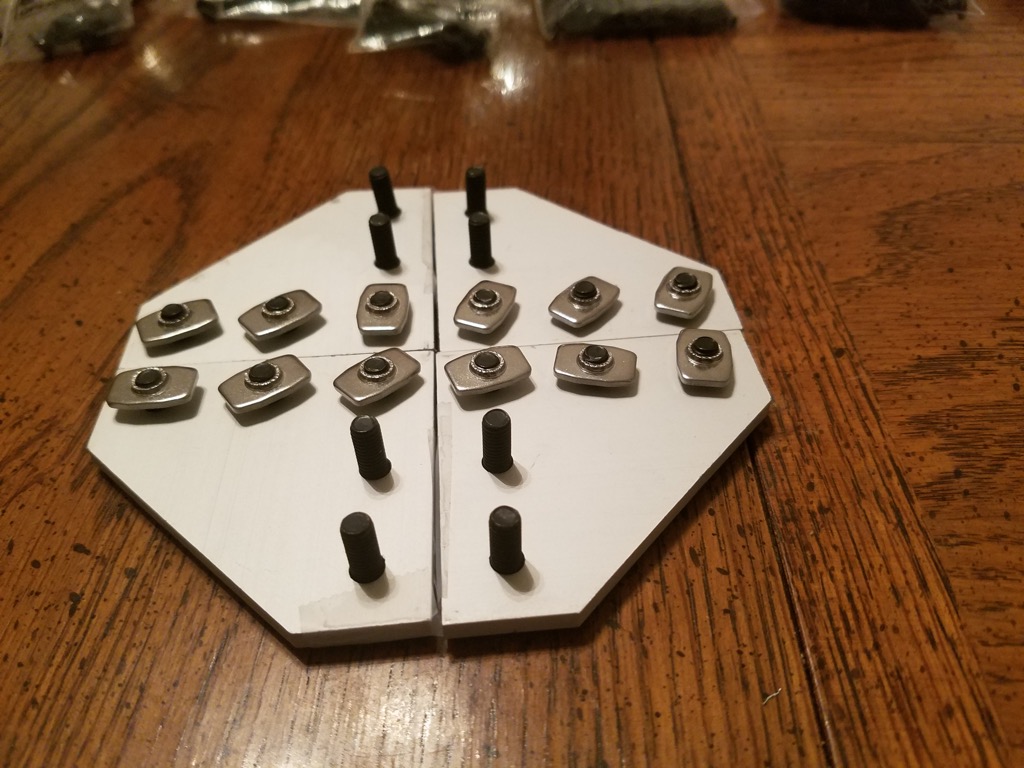
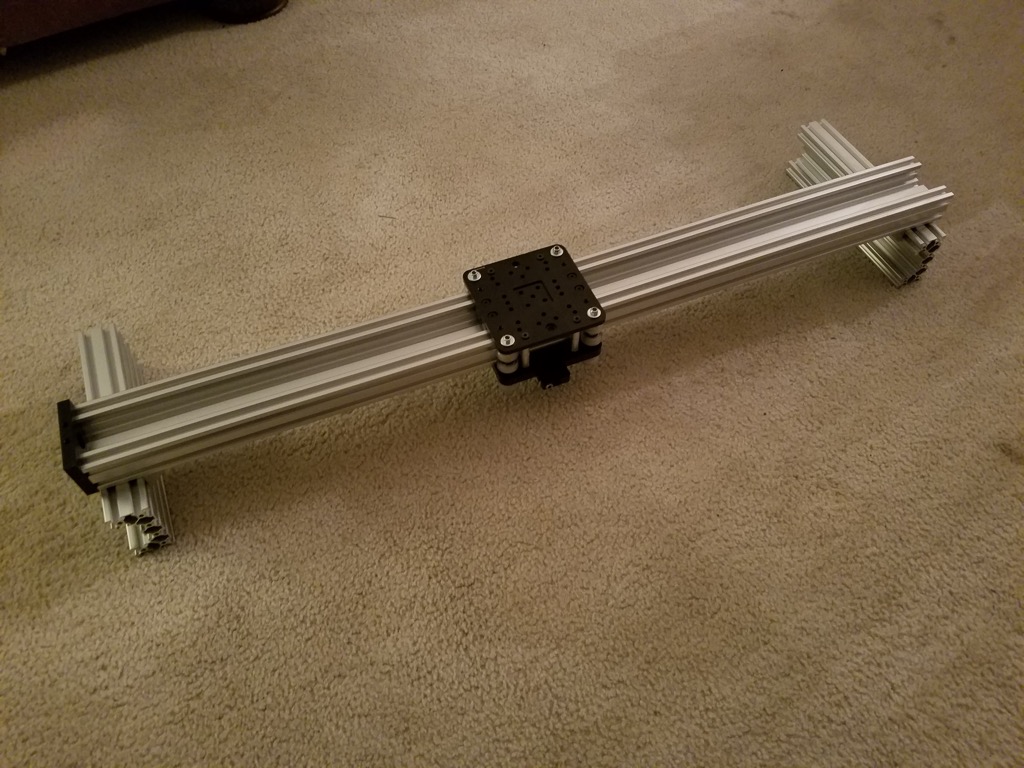
ACME Nut blocks assembled and ready to go
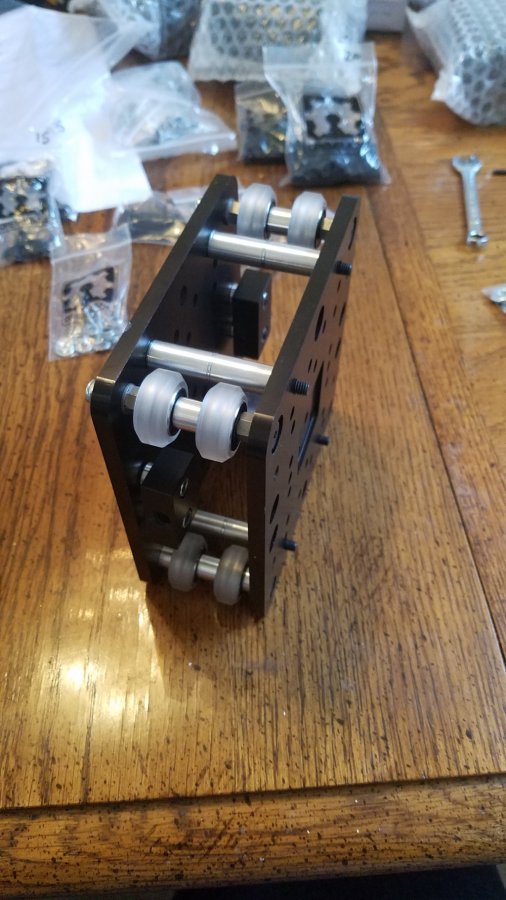
X-Carriage complete
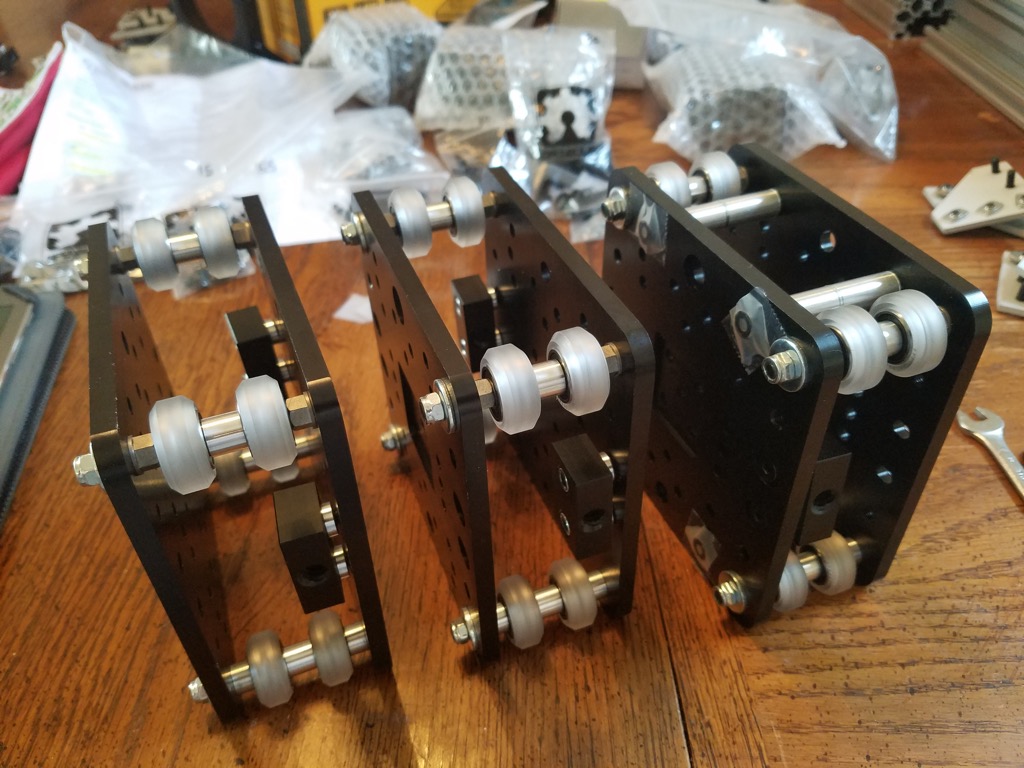
X-Carriage and both Y-Carriages
Z-Carriage wheels
Presto! ready for more.

Left Support beam
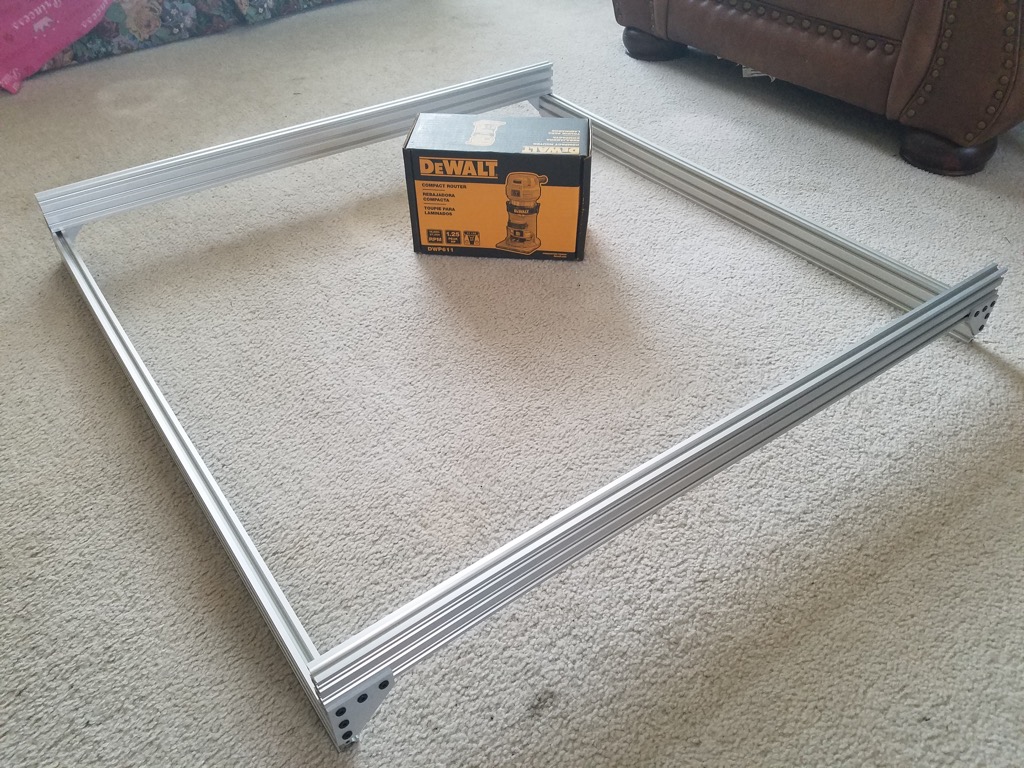
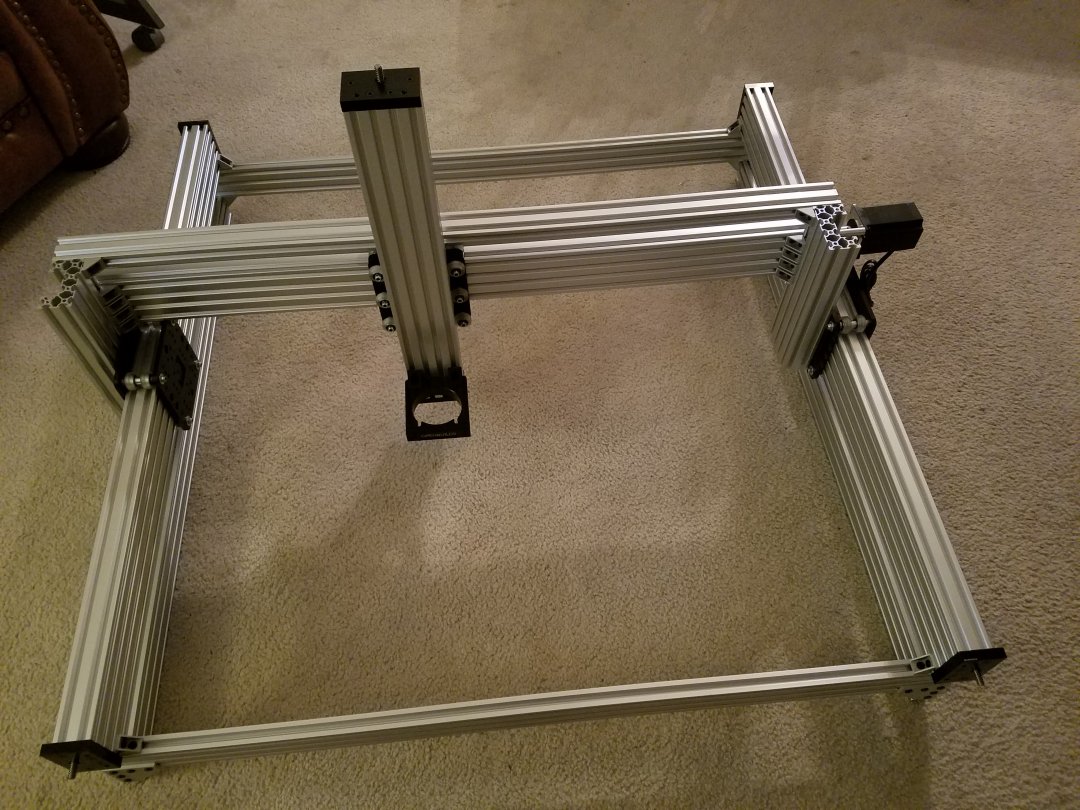
All 4 put together. Spindle box in the middle for a size reference.
This thing is a whole lot bigger than the small X-Carve i have!
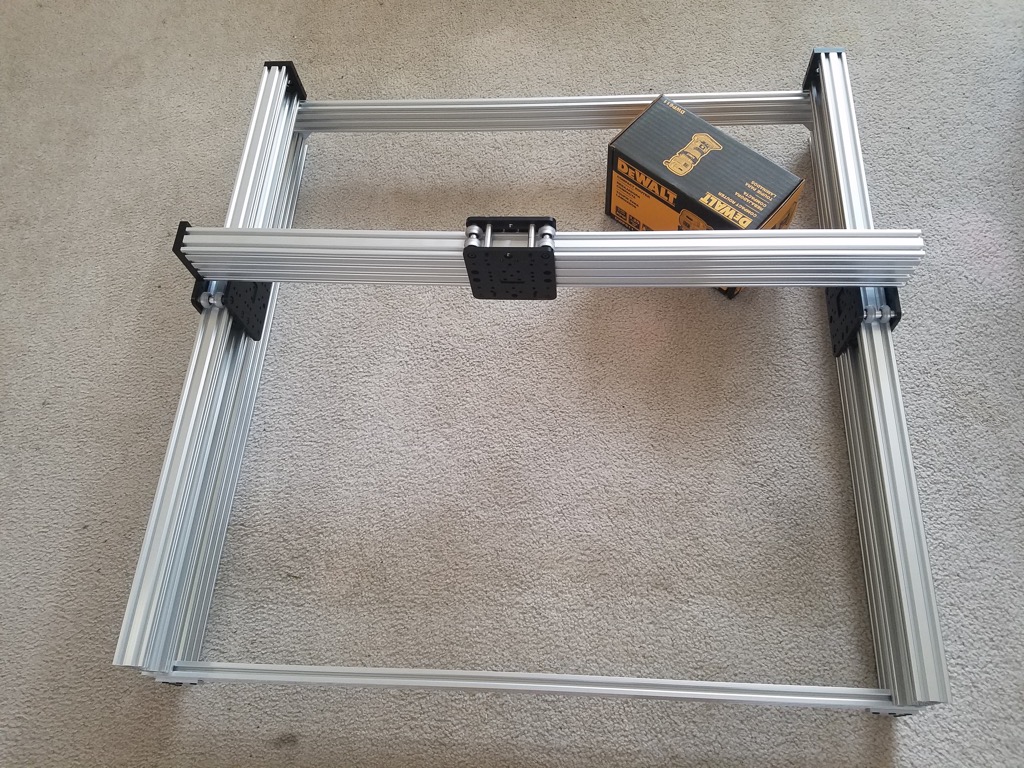
Top linear rail laid on top for fit check
Attached the vertical portions of the gantry
Different angle of the gantry

Gantry attached, although i did change the attachment point of the left gantry pillar to the outside of the Y carriage. Gave me a few more inches of X travel.
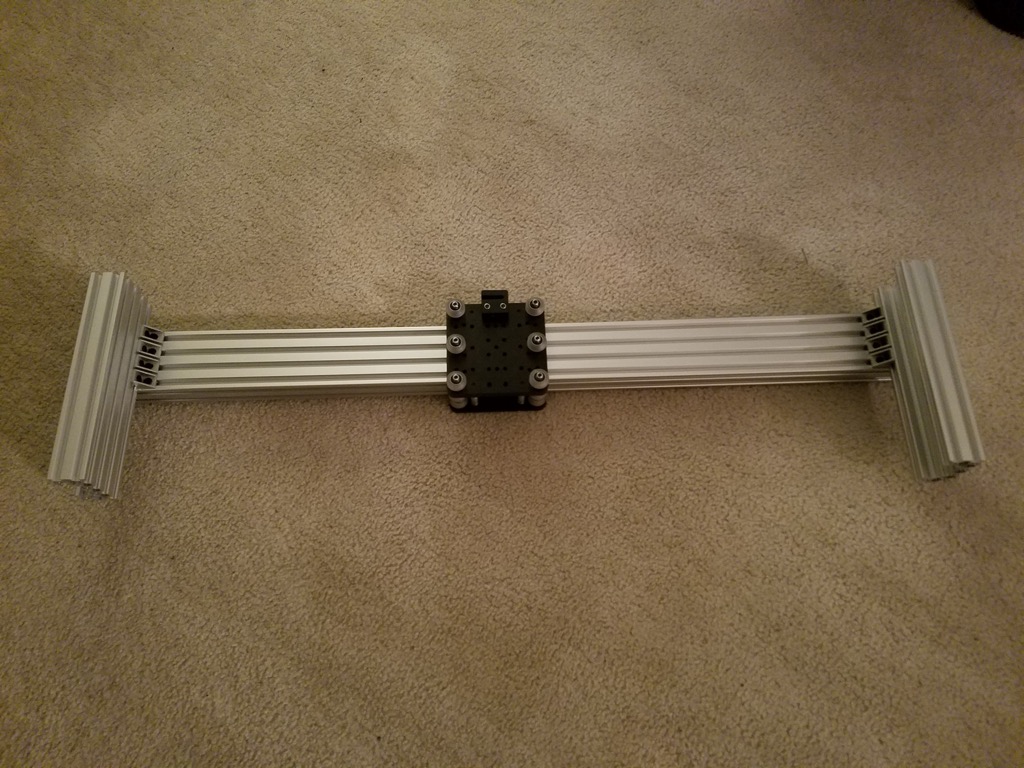
I added a section of 20x40 V-slot to mount the drag chain.
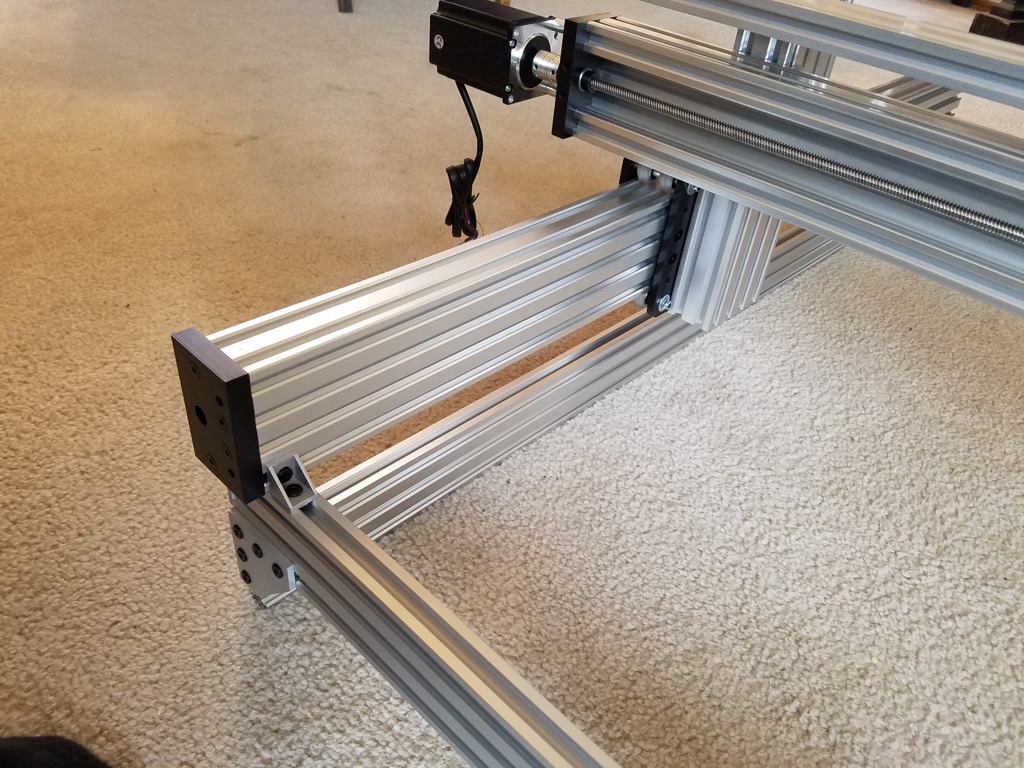
A close up of the motor attachment.
I found that the included M5-55 low profile screws that are meant to attach the steppers have a collar just under the head that interferes with the frame on the stepper motor. Going to see if an M5-55 cap head will do a better job.
-- UPDATE --
Home Depot sells a socket cap screw (Crown Bolt) M5-.8 x 55MM that fits like a glove!
Highly recommend replacing the High torque NEMA23 motor bolts that the kit comes with (M5-.8 low profile)
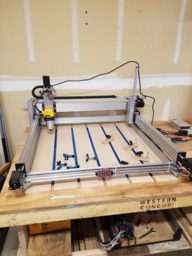
Mechanical portion mostly complete, now moving on to the electronics!
Panucat Gradus M1 with Big-Foot style drivers. (3A capable)

Finally made room in the garage for the little beastie. ;-)
I used the Rockler T-Track for hold down, and have a number of 1/2" MDF strips between them.
All attached to a sheet of 1-1/8" plywood.
Now to work up a nice large project with V-Carve Desktop.
C-Beam 1M
Build in 'Cartesian Style CNC' published by Jim F, Sep 4, 2017.
Basing this build on the C-Beam machine XL on the parts store, but added a few things to make it more like the C-Beam XXLarge "Tank" by Dollarz81. Going with the Dewalt 611 instead of a water cooled spindle at first. May change down the road. Using a Panucat Gradus M1 controller with BigFoot drivers.
-
-
Build Author Jim F, Find all builds by Jim F
-
- Loading...
-
Build Details
- Build License:
-
- CC - Attribution - CC BY
Reason for this Build
I wanted a larger, stronger alternative to my 500x500 XCarve.Inspired by
Based on the C-Beam XXLarge "Tank" by Dollarz81


